How To Sign a Message Using the Peercoin Client
First, check that the address you want to use is loaded up into the wallet of your Peercoin client. You can use the standard client found here. The list of your addresses can be found using the receive tab.

Once you are satisfied that the address is in the wallet (you can even copy it to your clipboard if you like), open up the ‘Sign message…’ option of the ‘File’ menu.

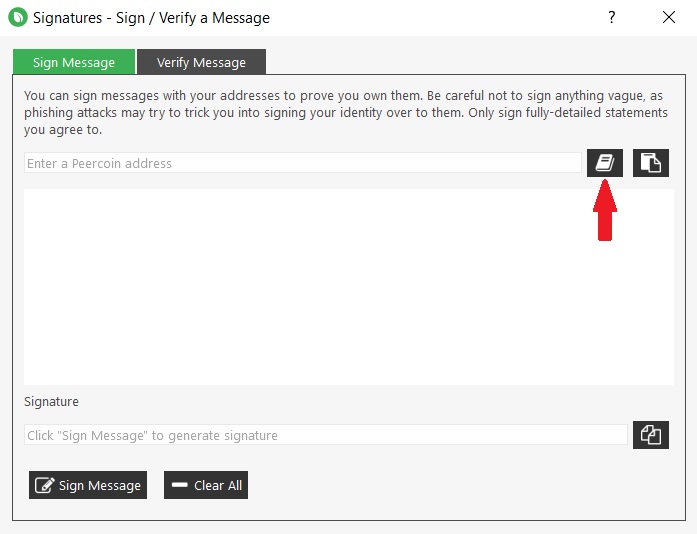
At this point, you should be on the ‘Sign Message’ tab where you can paste in the address you want to use, either via your clipboard or by clicking on the address book button.
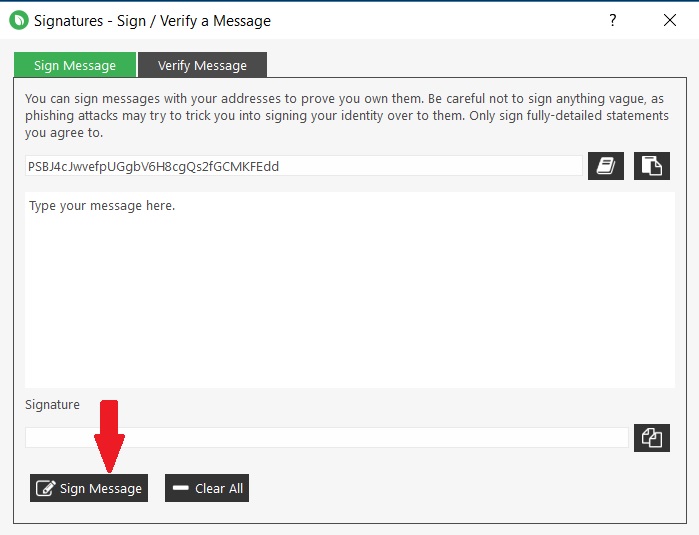
Now you can type your message into the big blank box. It might be best to copy and paste this text from a plaintext source in order to avoid any formatting issues. When you are done, hit the ‘Sign Message’ button.
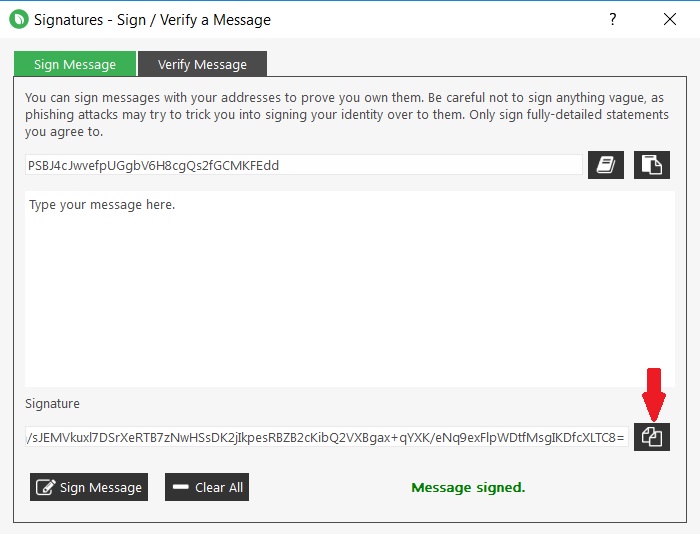
If it completed its function correctly, it will display in green ‘Messaged signed.’ Copy the signature using the convenient button.
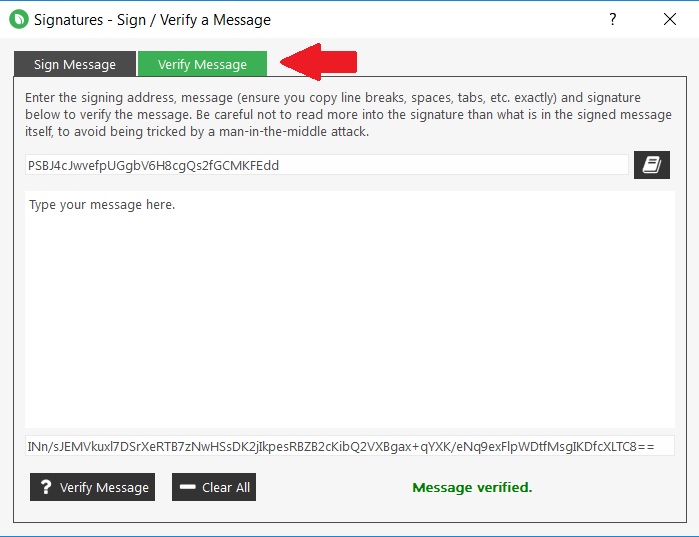
Just to be sure everything worked correctly, you can validate your signature. Go to the ‘Verify Message’ tab and fill in all the fields. If everything looks good, and it comes back with a green ‘Message verified.’ then you can share with anyone your signature, message, and address and they should be able to verify it just the same.
Congratulations, you have now cryptographically signed and verified a message!